North Redwoods Book Arts Guild

If you are interested in more info or joining, please email to no.redwoods.bag@gmail.com

Showing posts with label Lara Cox. Show all posts

Sunday, September 27, 2026

BUTTONHOLE STITCH BINDING

Lara Cox will be our instructor for the October NORBAG workshop. Lara saw the Buttonhole Stitch binding on various Pinterest and Bookbinding sites and was inspired to research and make several versions, from full hard binding (book-cloth over book-board) covers to simpler versions utilizing cover weight paper for the cover. Parts of this binding can be glued or not depending on your style choices. It also offers endless possibilities for variation with cover design. Lara says this book binding technique is a variation of the binding taught in Keith Smith's book Volume 1 Non-adhesive Binding. To receive a copy of the tools and materials needed for the workshop, RSVP to Dolores Guffey (dguffey1@gmail.com) by October 5.


When:  Saturday October 10 at 10 am PDT
Where: On your computer, tablet or smartphone via Zoom
Workshop questions:  Lara Cox  Laracoxbookarts@gmail.com
Zoom questions:  Bobbie Hayes  bobbie.hayes666@gmail.com
RSVP:  Dolores Guffey  dguffey1@gmail.com  by Oct. 5


Wednesday, October 15, 2025

LOCAL WORKSHOP & PSBA EXCHANGE

Prior to the Covid pandemic in 2020, NORBAG's monthly workshops were all locally attended by members in Humboldt County.  Average attendance was 15-30 members. This arrangement worked well, except that our "out-of-town" members were completely excluded from attendance. They could get the supply list and instructions for the workshops, but they were on their own to put it all together. Then came Covid and the local workshops came to a screaming halt. It took a couple of months, but thanks mostly to Bobbie Hayes, we discovered Zoom and revived the monthly workshops that all of our members can attend. We even record them so that members who might have missed the workshop can see it again. Now we usually have 25-40 attend, including our British and Canadian members.  

This year we’ve started some local workshops again with hopes of getting our local members more interested. Currently we have four local workshops a year (March, June, September and December) in addition to the monthly Zoom workshops. In September Lara Cox taught the Origata Binding, which she was able to reconstruct from Julie Auzillon's website which can be found at: https://tinyurl.com/4unvdh8p .


 Only 11 local members attended, but they were rewarded with a new and different binding structure. The following photos show this structure.


Book Exchange

Puget Sound Book Artists (PSBA) from Washington state started holding a yearly book exchange about five years ago. The following photographs are a sample of the 23 books that were in the exchange that was held this month. The theme was bridges.


Peter Newland


Mary Preston


Dorothy McQuistion


Bonnie Julien


Monday, January 13, 2025

CAT FACE LEDGER REVIEW

What a fun project! If you missed this workshop, no worry as it was recorded and available to watch now. You will need the template and the written directions, so check the details in the newsletter. Many thanks go to Lara Cox for sharing her original design with us. When I first looked at the template with all the tiny dots for stitching holes I thought it would be almost impossible to stitch correctly, but Lara's patient instructions made it all work. Lara shared a website to help design stab bindings that she received from NORBAG member Caryn Lum. It looks like it could be a valuable site if you plan to design your own binding.

Here are a few photographs of our Cat Face Ledgers


Michele Kamprath


Bonnie Julien


Margaret Beech

Sunday, December 29, 2024

CAT FACE LEDGER

We will begin 2025 with a workshop to make a uniquely designed Japanese stab binding. Lara Cox will share her original design that features a cat's face in the stitching of the binding. Here is Lara's explanation of how she came up with this idea.

"I was inspired to create this stab binding pattern when I stumbled upon the work of two artists, Lori Forgues of Lbforgues Papercrafts and Becca of Becca Making Faces.

Both of these talented artists offer various Japanese Stab Binding tutorials online as well as encouraging you to go forth and make your own stab binding patterns. I like cats and after much brain twisting trial and error, I managed to make a cat face binding.

For this workshop we will be making a ledger shaped book with a single cat face binding. I will also touch upon how to make a double (or even multiple) cat face pattern for you to tackle in the future if you wish."


The "book" in this project is more like something that would be used to feature a poem or saying on a page rather than hold many pages. It would be an ideal gift for someone. Lara said "for the number of pages, I've done it this way because the binding is complicated enough as it is without folks having to struggle with lots of pages. During class I will have examples of this structure with more pages."

Materials:


Please have all the papers precut prior to the workshop. All papers (even for the covers) are 3" x 7" grain short.
  • 2 pieces for the covers: cardstock, Mi-Teints, or similar weight decorative paper.
  • 2 pieces for end papers: light weight decorative paper
  • 2 pieces for the interior pages: text weight paper
  • 8 feet of thread: embroidery thread or other of similar weight. Make sure your thread is a color that will stand out against your cover paper color so that the binding design will show up.

Tools:

  • Sewing needle with a big enough eye for your chosen thread type
  • Scissors
  • Pencil
  • Bone folder
  • Ruler
  • X-acto knife
  • Bee's wax
  • Awl
  • 4 binder clips (1" size)
  • Piece of foam core board or an old magazine. This is to place under your book when poking the holes for the binding.
You will be provided with the template for the binding pattern when you RSVP.

When?    Saturday, January 11 at 10 a.m. PST
Where?   On your computer, tablet or smartphone via Zoom
RSVP      To Dolores Guffey by January 6 to receive the password
Workshop Questions:  Lara Cox, lolastyle@hotmail.com
Zoom Questions:  Bobbie Hayes
Contact information is in the newsletter


Tuesday, April 16, 2024

GIRDLE BOOK & COLETTE FU

At the April NORBAG workshop we made Girdle books (not really related to the kind of girdles that are worn as foundation garments 😉). The design for our books came from structures used during the middle ages that hung down from a person's belt. In this day and age, this type of book would work great as a nature journal where one could have their hands free, but the book would be very accessible. Lara Cox was our instructor and she did a great job leading us through this project. Now that we know the basics of how this structure works, it will be very interesting to see if our members come up with some other interpretations of the design. Thank you Lara for introducing us to this historical structure. Below are a couple of examples of books made during the workshop.

Sherrill Story

Sherrill's husband demonstrated
 how to wear her book.


Bonnie Julien

Inside cover of Bonnie's book.

Colette Fu

In November 2023 the Bainbridge Island Museum of Art (BIMA) welcomed artist Colette Fu for a month-long residency. Fu's work is a melding of her photography and pop-up engineering. Featured below are some of the books that were exhibited in the Sherry Grover gallery.


The legend is that Butterfly Mother gave birth
to 12 eggs, the origin of all living things.


Miao Fishing Contest


Saturday, March 23, 2024

GIRDLE BOOK

Our April workshop will be a follow-up to the March French Link stitch workshop taught by Lara Cox. For those of us who attended, we ended up with a 5 1/2" x 4 1/4" text block sewn with the French Link stitch. Now we're ready to turn that into a Girdle Book. Lara describes Girdle Books as "small portable books worn by medieval European monks, clergymen and aristocratic nobles as a popular accessory to medieval costume. They consisted of a book whose leather binding continued loose below the cover of the book in a long, tapered tail. The tail ended in a large knot which could be tucked into one's girdle or belt. The knot was usually strips of leather woven together for durability. The book hung upside down and backwards so that when swung upwards it was ready for reading. The books were most often religious in nature: a cleric's daily Office, or for lay persons (especially women), a Book of Hours."


Tools Needed:

  • Pencil, Ruler, Bone folder, Scissors
  • PVA Glue (or favorite paste) and brush for gluing.
  • Scrap paper for use in gluing. Old magazines work great.
  • Sewing needle and thread for finishing off the belt knot at the top of your fabric binding.

Please Prepare Ahead of Class:

  • Book Block: The book block you made in the March workshop or one of the same size: 5 1/2" tall x 4 1/4" wide x 5/8" thick.
  • Decorative End Papers: 2 pieces that measure 5 1/2" tall x 8 1/2" wide. These will be the End Papers at the front and back of your book. Mi Teintes or a similar weight of paper will work.
  • Bottom Paper/Fabric: This piece finishes the bottom of your book where the cover fabric extends. It can be a piece of your cover fabric or a color that matches your cover. (This piece needs to be 9" wide x 1 1/2" tall.)
  • Book Boards: 2 pieces precut book board measuring 5 3/4" tall x 4 5/8" wide for front and back covers. AND 1 piece of book board for the spine measuring 5 3/4" tall x 1/2" wide. **Note: Cereal boxes and such while not as heavy duty as book board are usable in place of book board for many bindings.
  • Cording and/or Ribbons for the closure and knot: 3 to 4 feet.
  • Pre-cut Cover Fabric: 24" tall x 10 1/2" wide. Suggested fabrics: Mid-weight wovens: cotton, linen or silk. Fake leather such as ultra suede or real leather as long as it's soft enough to fold easily. NO stretchy or sheer fabrics.
  • Cover Decoration: If you wish to pre-decorate the front of your cover, note that you will be working on the upper right corner of your fabric. The area in which you may decorate is 5" tall x 3 1/2" wide. Leave a border of 3/4" on the top and 1" on the right side free of decoration as these areas will be folded under.

When:    Saturday April 13 at 10 a.m. PDT
Where:   On your computer, tablet, or smartphone via Zoom
RSVP:    Dolores Guffey by April 8 to receive the password
Workshop questions: Lara Cox Lolastyle@hotmail.com
Zoom questions: Bobbie Hayes
Contact information is in the newsletter

Tuesday, March 12, 2024

FRENCH LINK FOLLOW-UP

 At our March workshop Lara Cox guided us through making a French Link stitched book block that will be used in her April workshop where we will make a Medieval Girdle book. The French Link stitch is a very pretty stitch that is best shown off on an exposed binding book, but alas, it will not be seen in the Girdle book. Its other great feature is that it allows a book to open flat for ease of writing and that is why it works well in this book. Our thanks go to Lara for teaching us this stitch, and ultimately, the Medieval Girdle book in April. Below, are photos of one example of a Girdle book and some of the book blocks that were made at our workshop.

A Medieval Girdle book found on Pinterest.
The book generally hangs down from one's belt.

Two book blocks by Emmy Nelson.

Michele Kamprath

Sherrill Story

Stephanie Weigel

Notes from the Art Lab

by Bonnie Halfpenny

Many of you are probably familiar with Helen Hiebert's podcasts with paper makers. If not, head to Helen's amazing website at https://helenhiebertstudio.com/podcast for a world of paper making information just waiting to be found.

For example, recent podcast #108 is a lengthy interview with Peter Thomas about his very down-to-earth start as a papermaker at Renaissance Fairs in the '70's.  This led him to make small blank books to sell, along with his wife Donna, who did the casings and illustrations.

Peter was committed to making the very best paper and books possible.  Along the way, he talked to everyone he could about how to improve.  In his podcast, he gives a really detailed description of the process of dipping the screen to lift the pulp properly.  He emphasizes the fluid motion and the proper stance of the professional papermaker.  If you have ever had back pain from pulling pulp, Peter now has a free YouTube video on how to avoid this at https://youtu.be/i16V_hFPQfQ.  Many of us have watched glassblowers- I wonder how many of us appreciate the skill of the professional papermaker!

All of that great craftsmanship leads to beautiful books, so head over to  https://www2.cruzio.com/%7Epeteranddonna/ (or just search their names), for close-up shots of dozens of Peter and Donna's wonderful books, in categories from Miniatures, to Unique, to Fine Press, to Ukuleles.

Their inspiring book, More Making Books by Hand, first published in 2004, is still available.  Also see their website for other published works. 

Side note: NORBAG members from Humboldt County have been fortunate to have welcomed Peter and Donna for workshops and informal get-togethers when they have passed through the area. Below is a photograph of them taken at one of those visits at the Arcata Marsh.

Peter and Donna Thomas and their gypsy wagon bookmobile.

The wagon parked in Dolores' meadow during a 2019 visit.


Monday, February 26, 2024

FRENCH LINK STITCH

Our March workshop will be taught by Lara Cox in preparation for the April workshop. Here is Lara's description:

"One of my absolute favorite ways of sewing signatures together...the French Link Stitch, is a spine sewing often used for exposed bindings where you can see the stitching. It is decorative in its finished asymmetrical "X" pattern. It can also be used in a case binding where the stitching would be covered up. I use it both ways because I like my books to lie flat when opened as this stitch allows beautifully.

**Of special note: This workshop is a precursor to the April (Medieval Girdle Book) workshop with the idea that we will be using the sewn block we make in March for the April workshop. If you are skipping this workshop or want to sew your signatures together with a different technique, you may do so as long as you stick with the measurements of this signature structure. That way it will still work for the Girdle Book."

French Link stitches sewn over tapes.


Tools and materials for the March workshop:

  • Pencil, Ruler, Awl, Bone Folder, Scissors, Beeswax
  • Thread: Book binding or embroidery thread
  • A piece of foam core board, cardboard or an old magazine big enough to use under your signatures when punching holes.
  • Also, super handy to have on hand: Patience with yourself.

Please have prepared ahead of the workshop:

  • 30 pieces of paper measuring 5 1/2" tall by 8 1/2" wide. Ideally, grain should be parallel with the 5 1/2" direction. Paper can be printer paper weight or a bit heavier. (We will want the final book block to be 5/8" thick when completed to best work with our April binding.)
  • This will be the pages that then make up the signatures. Lara says not to worry because all will be explained in the workshop.
When:    Saturday March 9 at 10 a.m. PST
Where:   On your computer, tablet or smartphone via Zoom
RSVP:    To Dolores Guffey by March 4 to receive the password
Workshop Questions:  Lara Cox, Lolastyle@hotmail.com
Zoom Questions:  Bobbie Hayes
Contact information is in the newsletter.

Tuesday, March 3, 2020

MARCH WORKSHOP POSTPONED

Due to the corona virus, a number of our members expressed concern about meeting (especially in close quarters - the Fireside Room). Lara has agreed to postpone the workshop until the April meeting. At the April meeting we will have two separate book exchanges, one for the March theme of Surface Design and one for April's theme of a Shaped Book.

Our April workshop will feature Lara Cox teaching a somewhat simplified version of a medieval girdle book. This workshop will provide us with the basic structure so that we can create more complicated and decorative versions in the future.


Girdle books were small portable books worn by medieval European monks, clergymen and aristocratic nobles as a popular accessory to medieval costume. They first appeared in the late 13th century and gained popularity through the 15th, sometimes becoming ostentations jewel-encrusted presentation books, and then falling out of favor late in the 16th century when printed books had become much more common. 

The structure consisted of a book with a leather binding that continued loosely beyond the cover of the book in a long tapered tail with a large knot at the end that could be tucked into one's girdle or belt. The knot was usually strips of leather woven together for durability. The book hung upside down and backwards so that when swung upwards it was ready for reading. The books were normally religious: a cleric's daily Office, or for lay persons (especially women), a Book of Hours. Another possible reason for their decline was the relatively small number of specialized girdle-protected texts becoming outdated with little need to replace them. In an environment of increasingly cheap printing it was simpler to replicate texts than spend time preserving individual manuscripts. The intricately constructed girdle bindings were simply impractical after a certain point.


Tools and materials to bring:

  • Pencil
  • Ruler
  • Awl
  • Bone folder
  • Scissors
  • Cutting mat and exacto knife
  • PVA Glue (or favorite paste) and brush for gluing
  • Scrap paper for use in gluing (old magazines work great)
  • Bookbinding thread like Perle cotton or similar
  • Sewing needle that fits the size of your thread
  • Beeswax
  • Hole punching cradle (handy but not necessary)

Please have prepared ahead of class:


  • 10 signatures with 3 sheets/folios per signature, folded and nested. Start with pages measuring 5 1/2" tall x 8 1/2" wide. Once folded, the signatures should each measure 5 1/2" tall x 4 1/4" wide. Please fold, bone and press your stack of signatures. Alternatively: if you would rather use thicker paper and less pages, you may do so with the understanding that the final stack of signatures should measure 5/8" thick when pressed and stacked together. We will be sewing them together into a block as part of the class.
  • Decorative paper, 8 1/2" x 11" or larger. Various decorative papers may be used for the endpapers at the front and back of your book. Mi Teintes or a similar weight paper will work.
  • 2 pieces precut bookboard measuring 6" tall x 4 1/2" wide (for front and back covers)
  • 1 piece bookboard for the spine measuring 6" tall x 1/2" wide. Also, what seems to be a measurement discrepancy between the spine width and book block thickness is correct--all will be revealed at the workshop. 
  • NOTE about bookboard: Cereal boxes, cake mix boxes and cracker boxes while not as heavy duty as bookboard are usable in place of bookboard for many bindings. Feel free to substitute them in as the bookboard for this project.

Lara will provide:

  • Directions, re-usable cover pattern and examples
  • Precut cover fabrics
  • Cording and ribbons for closures and knots
  • Hole punch guide
  • Waxed paper
  • Sewing thread

WHEN:    Saturday April 11 at noon

WHERE:  Eureka Methodist Church at Del Norte & F Streets
BRING:   See lists above
COST:     $4
RSVP:     YES, to Lara. Her contact information is in the newsletter.


Friday, March 15, 2019

Hedi Kyle - Piano Hinge Workshop


The March 2019 meeting was very busy. Hedi Kyle structures were the theme. We had a total of 22 exchange books. Our “Show and Tell” table was full too. And the workshop had about 21 of us. Lots of things to see and do.

Workshop

Lara Cox taught us the Hedi Kyle structure from The Art of the Fold found on pgs. 144-147. The structure is a marriage of the simple accordion fold and a piano hinge. The pages are made from a double length folded in half with the folded edge at the fore edge. Then we cut a window through the entire page and put a mylar pocket between the folded page and filled it with things of choice. Those windows can be viewed separately, but also as a marriage of images because they are all see through.

This was an unusual workshop. It sounds like it should be easy and quick. Fold an accordion, make a few cuts on the accordion spine, fold the pages over, cut out windows, fold mylar, put “stuff” inside the mylar. Done and done quickly. That did not happen on Saturday. Lara led us through all the steps easily. There were a few questions about where to cut the accordion that were immediately resolved. But things slowed down with the “put stuff into the mylar pockets.” Also, the marriage of structure and content was delightful. Our members, recognizing that you would see the contents of a single page and all pages at the same time, recognized the need for thought and creativity. We don’t have a lot of finished books because people wanted to spend time working on content at home. The members will bring their finished books to the next meeting.
Lara brought several examples of this structure.

The square cut from the cover is much smaller than the interior windows.
 It gives a taste of what is to come.


When opening the book, you see all of the inclusions at once
 or simply concentrate on the topmost page.
 (Note: sorry for the reflections.)


This sample shows how the contours of the book can be changed.  


This is the interior of the above book. Lara has an unusual paper being used in the windows. She explained that she was doing suminagashi and between prints, she used a torn strip of paper to remove the unused ink. She saved them and they are the contents of these mylar pockets.


WORKSHOP PHOTOS


After making a 16 panel accordion fold, we clipped the ends together
 to make sure that the horizontal cuts in the spine were identical.


The vertical cuts were different from end to end so the piano hinge worked.


We added a bit of tape on the inner edge of the cutouts so that the opening
 would hold the "hotdog on a stick" piece of wood stay in place.


Checking for fit of the stick.


When we put the ends together and slid in the stick,
 the marriage of the two structures was easily seen.
  The pages will be affixed to the accordion.


Spine finished, we folded the double length pages in half and using the orange jig, cut a hole in each folded page. In this picture, the folded edge of the light blue/lavender page is on the left.


Next was the mylar. Some of us used gloves
 to make sure we didn't leave any fingerprints on the mylar.


As usual, each member brought their own creativity to their pages. 
This member is using a background photo with geometric shapes floating above.


Feathers? Yes. 


Next comes someone with photograph cutouts and lacy sheets.


This member brought some mylar that had been used as a pastepaper base. Interesting? Yes!


Threads. On several layers of pages.


Just scraps (as shown in Hedi Kyle's book).


Circus signs.


Looking through the pages. 


Show and Tell Table

The Show and Tell table this month included more examples of the workshop
 structure as well as works in process, experimentation and awesome books. 


This was the March project page.


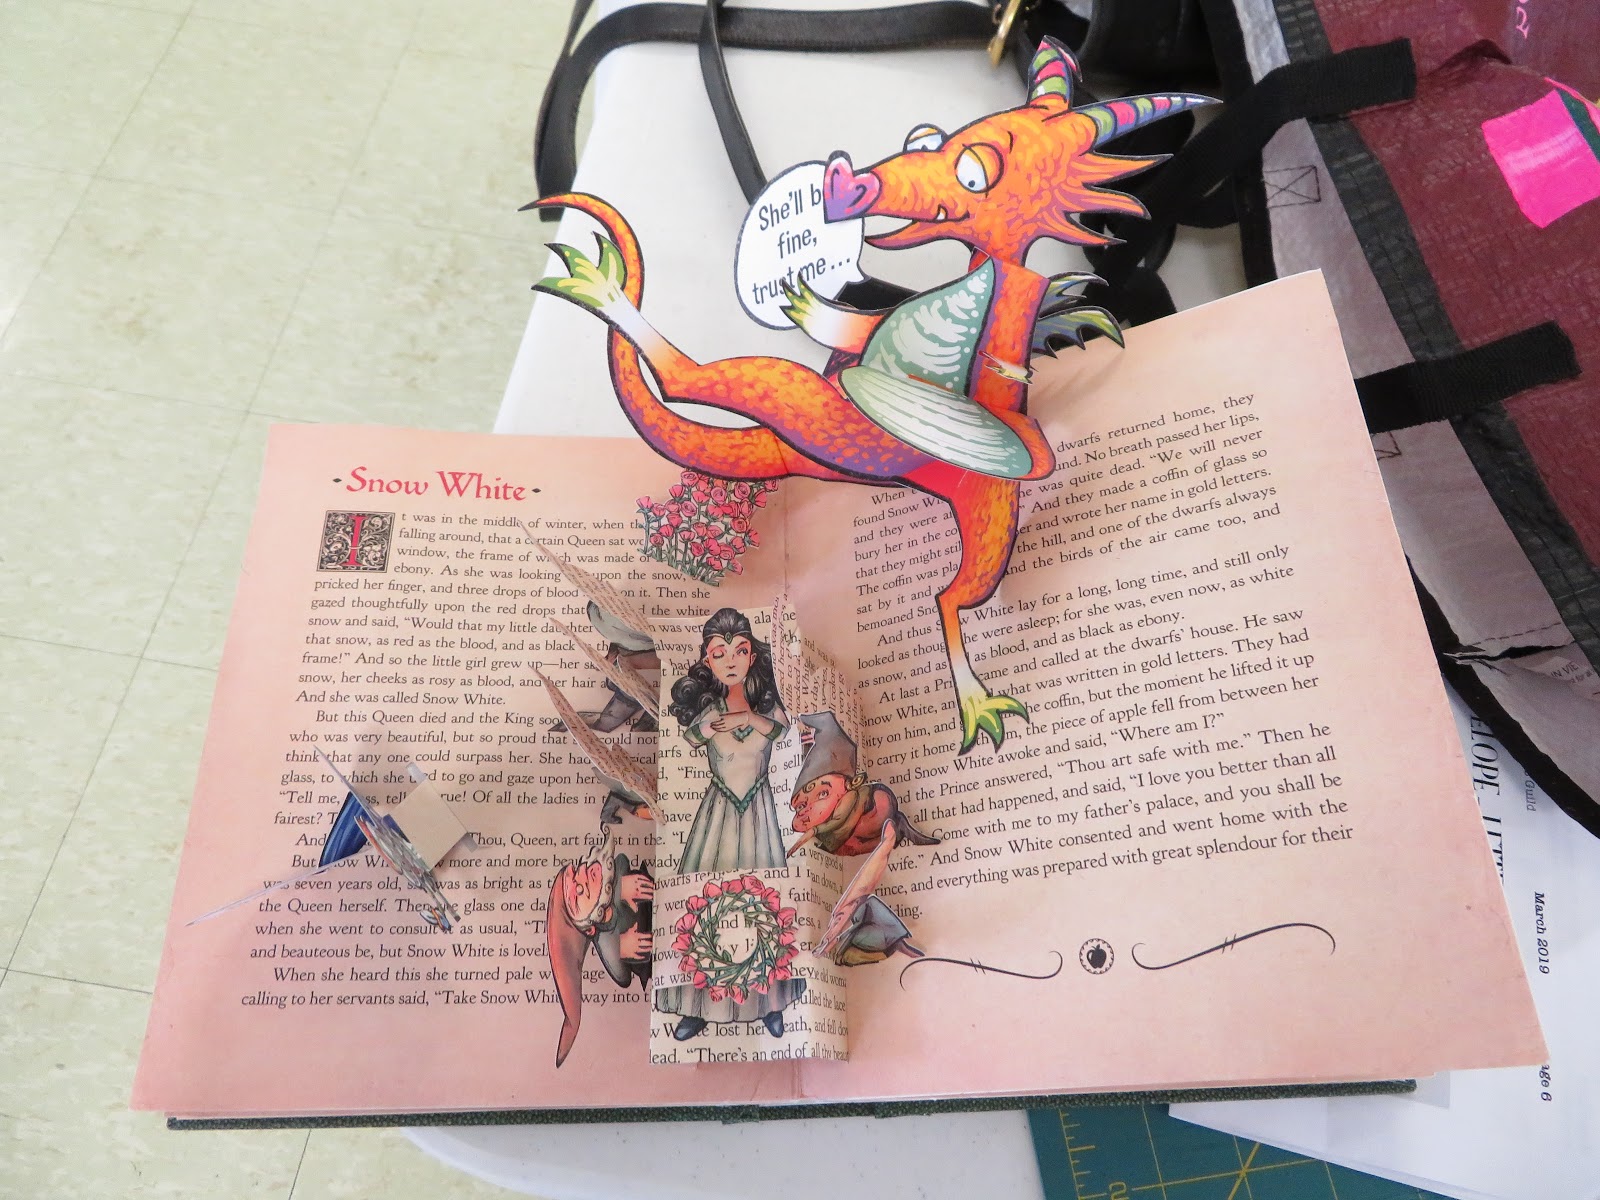
This is a pop-up book that actually used the book pages for the pop-ups.


As usual, we laughed, we worked, we had fun!


 If you have made it this far, go back to the top of the blog and click on Flickr gallery. The exchange pictures are up!